
DSC-BRAIN USER GUIDE · USING THE DASHBOARD
Climate desk — Room and Tent
Command (who drives, Take over, strategy, priority tent), the room umbrella, air path, fan duty, equipment tiles, Zigbee by role, pressure and VPD history; the Tent cockpit. In 9.8.9 Climate is not in the top bar. Open it from a space page: under What you can do, Climate sits beside Light, Root and 3D view (the room has Climate and 3D view).
● verified for 9.0.0 · corrected for 9.8.9 on 2026-10-01
● first mirrored 2026-09-15
On this page
The room is the umbrella lung. One exhaust and one recirculation serve both tents; each tent has its own intake and its own targets.
Use the Climate desk to see whether the room and each tent are in band, to take manual control of the fans, and to edit a tent's targets. Climate has two sub-tabs. Room is the shared desk: command, the room umbrella, the air path and the appliance ladder. Tent is one tent's cockpit: its probes, Want editors and air path. The zone strip sets which tent is in focus; the header tags say who drives the appliances (BRAIN DRIVING, BRAIN IDLE or YOU DRIVE, or WHO DRIVES when the hub cannot be read) and add APPLIANCES: CHECK, FANS: YOURS, FANS: CHECK or CAPACITY OFFLINE when they apply. A red Manual takeover banner shows only while you have taken every appliance over. Below the VPD panels, 3D TWIN · CLIMATE shows the room in the Climate lens (open in twin opens the Twin desk), and the equipment panel has an in twin link to the Air lens. A zone in the Dry or Cure role gets its Dry run or Cure card above Command (see Drying and curing zones).
Command
| Control | What it does | Use it when |
|---|---|---|
| Brain driving | A chip (Capacity offline instead when capacity is offline) with the line: The brain drives fans and appliances — a flip by hand is set back on the next tick unless you take that device over. Under it a Full Auto status line appears only when Full Auto is off or the hub cannot say, and when it is off it offers Turn Full Auto on. | This is the normal state. Nothing to press. |
| Take over | On each appliance tile, Take over makes that device yours, so a flip by hand stays until you press Hand back. To take over a whole tent, press Take over and the tent's name on that tent's space page, pick How long, and press Hand back to return it. Taking over records who owns the device and switches nothing. Where the hub has a single switch for a class, the button names what it covers, for example Take over all appliances. | A walk-in check: take the device over, nudge the exhaust, hand back when the room is stable. |
| Manual takeover banner | A red banner: Manual takeover — you own every fan and appliance; the brain re-plans on clear or hub reconnect. It shows only while you have taken every appliance over. | It is a notice, not a switch. Hand the devices back to clear it. |
| Humidifier air routing | A read-only line under the appliance tiles that says whether humidifier output rides the intake path. Settings › Climate calls the switch Humidifier intake routing and is where you change it. | Per your duct layout. |
| Air-mixing pulse | A read-only line under the appliance tiles that says whether the periodic recirculation pulse is on. Settings › Climate calls it De-stratification pulse and is where you change it. | Tall tents with a warm top and cool floor. |
| Strategy | The hub's control strategy (how aggressively the ladder chases). Climate prints it as a read-only line under the appliance tiles; change it in Settings › Climate. | Leave on the default unless you know why. |
| Priority tent | Which tent wins when both need the shared exhaust. Climate prints it as a read-only line under the appliance tiles; change it in Settings › Climate. The card warns when the priority tent holds no plants. | Flowering tent first, usually. |
Every select and target shows saving… → saved on hub, or not applied — still X (reason) when the hub refused or clamped the write. Writes are journaled. A 4×8 target is not sent while the hub is in a named stage, because the hub takes 4×8 targets only in Custom; the reason starts Not sent: the hub is in <stage> stage.
Room umbrella
Room °C, RH, VPD and absolute humidity with the Want bands. HELD chips mark frozen readings. Below it the appliances, one tile each: Heat, Cool, Hum, Dehum, Mat and Mister. Each tile shows what the appliance is doing, who drives it (a chip reading BRAIN, YOURS, IDLE, HELD OFF or UNKNOWN, with a line beside it), Take over (Hand back once it is yours) and its own Automatic switch. Raw entity ids sit inside collapsed Details lines, not in the tiles. A Mister catch-up chip shows while the hub is repaying missed mister time. Cool and Mister show no actuator honestly while that hardware is on hold. For what a humidifier and a dehumidifier have to do in a whole room, see how DSC holds humidity in a grow room.
Air path and fan duty
The air path map (see grow room ventilation for how it is sized) draws intake → tent → room → exhaust with flow in CFM (or m³/h, per Settings › Preferences). Solid paths are learned airflow; dashed paths are nameplate guesses until Kit › Learning measures them. The Fan duty % card lists the fans as the brain registers them, one row per fan: the kit's four (IN 4×8, IN 2×4, EX ROOM, EX OUT) plus any fan added under Settings › Light › Devices in each space, with the OUT and RECIRC duty history. Each fan gets the control its tier allows: a hub channel gets a slider that is live only while you have taken the fans over (the header then shows FANS: YOURS); a fan on a smart plug gets an on/off that asks first and does not need that take over (the brain never switches that plug and cannot set its speed); a known fan that nothing reads or controls shows assumed duty and a sentence instead of a control. Efficacy shows what the last ladder action achieved.
Tent pressure
Each tent has a chosen regime: negative, neutral or positive pressure. The hub gains an Intake budget and a Clone intake scale; the brain reports a pressure target per tent and the net flow. Set both under Settings › Climate › Pressure, where What this asks for states the regime each value asks for. The Air path card shows the measured net flow as positive, negative or balanced.
Zigbee by role
Bound sensors, placed as zone → placement → position in Settings › Devices › Zigbee. The climate table lists each sensor's Placement, Zone, Device, °C and RH %; a sensor silent for more than 10 minutes shows its last reading greyed with ⏸. Other sensors list every datapoint they report. Safety sensors show Wet / Dry as the raw reading; Problem / Clear only comes from a bound task. Canopy unbound means no canopy sensor is bound.
Placed climate appears once sensors are placed. Per zone it shows the resolved reading and the placement it came from, each placement's averaged reading (with the spread and the hottest and coolest position when several share a placement), and the airflow deltas the brain derives, such as Intake → exhaust, Canopy vs exhaust, Floor → ceiling, Tent vs room and Room vs outdoors. A delta appears only when both ends are fitted and live. A sensor silent for longer than the Placed sensor stale window (Settings › Sensors, default 30 min) is listed but never averaged. Each chip is an entity an automation can trigger on.
Runoff trays appears when leak sensors are bound to the Runoff tray · Pot N roles. Per pot: Wet or Dry now and for how long, Sitting in runoff after the Runoff sitting hold (Settings › Sensors, default 30 min), time to runoff after the last shot or logged watering with its median, and a water-use rank (the pot that ran off first took the least water).
VPD history
Per-zone charts with the reference bands shaded, lights-off shading, time-in-band, and a temperature × RH VPD map. Chart span chips and shading are set in Settings › Preferences. Under the zone's VPD readout, when temperature and RH are live and VPD is out of its band, a back in band line gives the RH at this temperature, or the temperature at this RH, that would bring it back, and notes an appliance that is offline or out of service. It is advice only; the climate loop still decides. To see what a temperature and humidity pair works out to before you change anything, use the VPD calculator.
Tent sub-tab (cockpit)
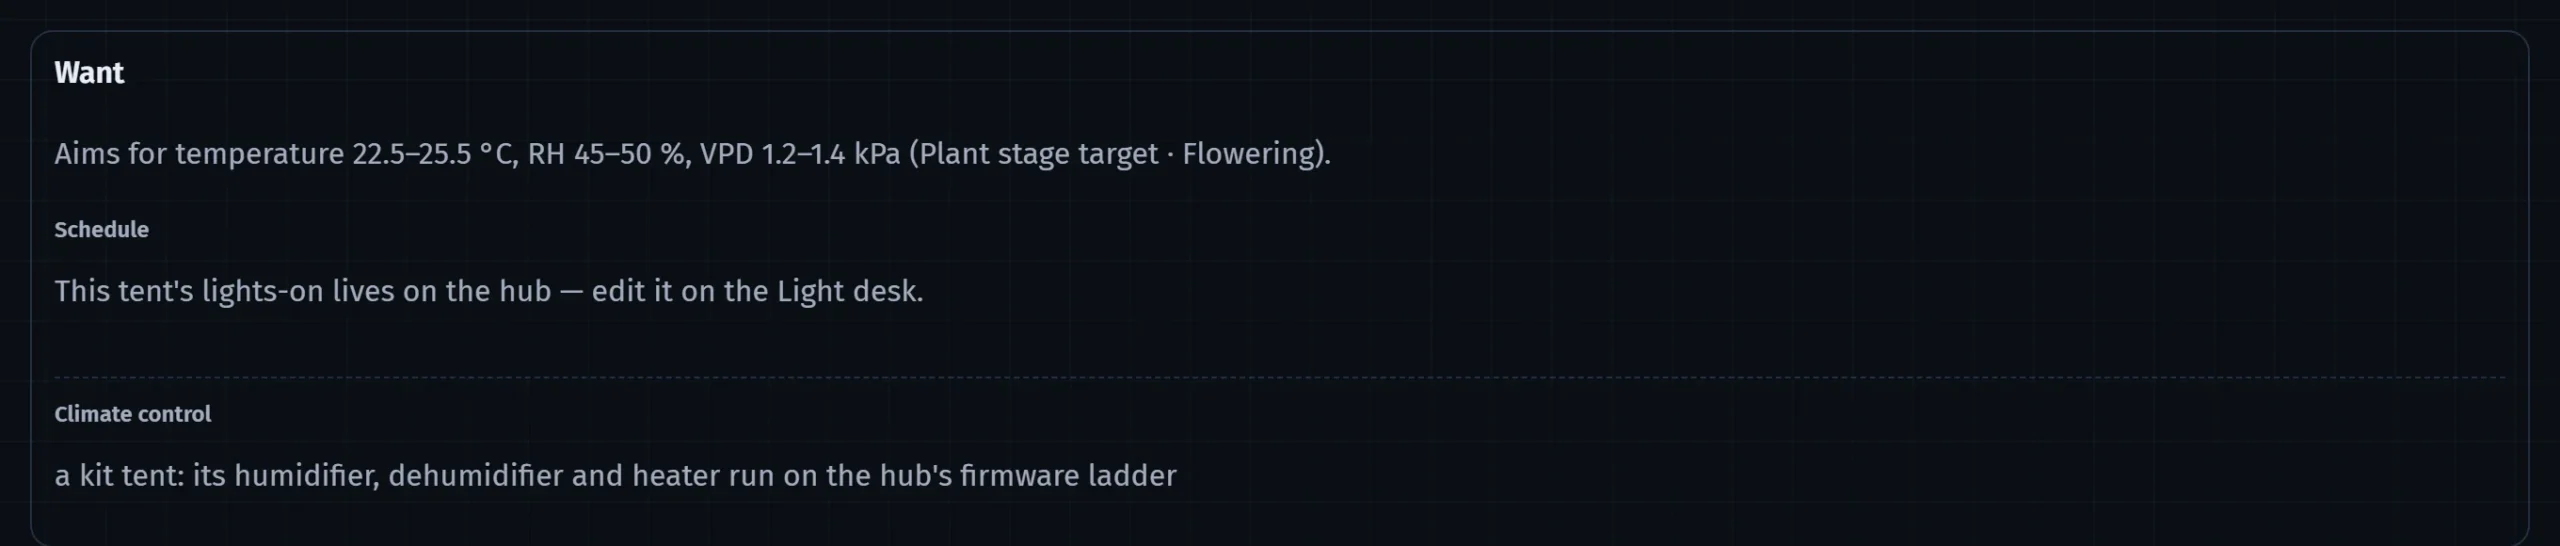
One tent: its probes, the Want editors (temperature, RH, VPD bands), the tent air path and IN cfm. Edit Want here; see who drives the appliances and take devices over on the shared Room desk with the same tent in focus. The 2×4 climate mode shows as a read-only line (Climate mode: and its value) with a Change in Settings button that opens Settings › Climate; change it there. The mode is policy: Follow 4×8, Follow plants (brain-owned, refreshed about every 12 h and on roster changes), Custom or Off.
What the brain cannot do here
The hub's demand switches are owned by its ladder. The brain proposes; the hub applies. A demand switch you flip under takeover is re-asserted by the hub on its next tick once takeover is off.
DSC-Brain user guide · Climate desk — Room and Tent · this page is edited on the site; the Notion original was retired after the mirror